Migrate WordPress site to a new hosting provider can be a complex process, but it can also be incredibly rewarding. By moving to a new hosting provider, you have the opportunity to take advantage of faster loading times, better security measures, and more reliable uptime. It’s important to carefully consider your options and do your research before making the switch. Make sure to back up your site, choose a reputable hosting provider, and take the time to properly set up and test your new site before making the final switch. There are several common reasons why someone might want to migrate their WordPress site to a new hosting provider
Some common reasons include:
- Outgrowing the resources or capabilities of their current host
- Seeking better performance, uptime, or security
- Wanting to switch to a more affordable or feature-rich hosting plan
- Moving to a hosting provider that is better suited to their needs (such as a managed WordPress host or a host with specific geographic locations)
Click here to discover the top 10 hosting providers for WordPress in 2023.
Regardless of the reason, it is important to carefully plan and execute the migration process to ensure that your website remains up and running throughout the transition.

Migrate WordPress : A Step-by-Step Guide
The basic steps involved in migrating a WordPress site to a new hosting provider include:
In this blog post, we will go into more detail about each of these steps and provide tips and best practices for a successful migration.
Preparing for the Migration

Before beginning the migration process, it is important to properly prepare and ensure that everything is in place for a smooth transition. Here are the key steps to take before exporting your WordPress site:
- Back up your WordPress site and database: It is essential to create a full backup of your WordPress site and database before making any changes. This will allow you to restore your site if anything goes wrong during the migration process. There are several ways to back up your WordPress site, including using a plugin, FTP, or your hosting control panel. Make sure to download the backup files to your computer or a secure location.
- Verify compatibility with the new hosting provider: Make sure that your new hosting provider supports the version of WordPress you are using and any necessary requirements, such as PHP and MySQL versions. You can check the WordPress requirements page for more information.
- Purchase a new hosting plan and domain name (if needed): If you are switching to a new hosting provider, you will need to purchase a hosting plan and possibly a new domain name as well. Research and compare the different hosting options and choose the one that best fits your needs and budget. If you already own a domain name, you can usually transfer it to the new hosting provider or update the DNS settings to point to the new host.
By following these preparatory steps, you can set the stage for a successful WordPress migration.
Exporting Your WordPress Site

The first step in migrating your WordPress site to a new hosting provider is to export your content from the old site. Here’s how to do it:
- Log in to your WordPress dashboard and go to the Export tool: In the left-hand menu, go to Tools > Export. This will bring up a page with options for exporting your content.
- Select the content you want to export: You can choose to export all content, or only specific types of content such as posts, pages, or media. If you have multiple authors on your site, you can also choose to export content from specific authors.
- Download the export file to your computer: Once you have chosen the content you want to export, click the “Download Export File” button. This will download an XML file to your computer that contains all the selected content. Make sure to save the file in a safe location where you can easily access it later.
By exporting your WordPress site, you can easily transfer your content and settings to the new hosting provider. Just make sure to keep the export file safe and secure.
Importing Your WordPress Site to the New Host

Once you have exported your WordPress site and prepared the new hosting environment, you can import your site to the new host. Here’s how to do it:
- Log in to your new hosting account and create a new WordPress installation: If you haven’t already done so, log in to your new hosting account and create a new WordPress installation. This can typically be done through the hosting control panel or with the help of the hosting provider’s support team.
- Go to the Import tool in the WordPress dashboard of the new installation: Once you have logged in to the new WordPress site, go to the Import tool in the dashboard. This can be found under Tools > Import.
- Choose the export file you downloaded from your old site and upload it: Select the WordPress option from the list of available importers, and then click the “Choose File” button to select the export file you downloaded from your old site. Once you have selected the file, click the “Upload file and import” button to begin the import process.
The import process may take a while, depending on the size of your site. Once it is finished, all of your content and settings from the old site will be transferred to the new hosting provider.
Redirecting Your Domain and Updating DNS Settings

Once you have imported your WordPress site to the new hosting provider, the next step is to redirect your domain name and update the DNS settings to point to the new host. Here’s how to do it:
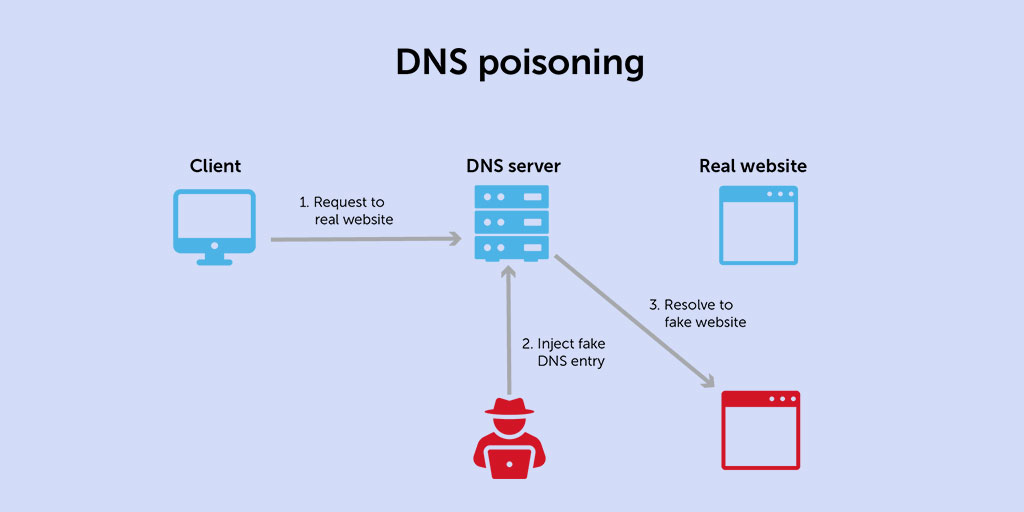
- Update the DNS settings for your domain name to point to your new hosting provider: The DNS (Domain Name System) is a system that translates domain names into IP addresses. In order to redirect your domain to the new host, you will need to update the DNS settings for your domain to point to the new host’s servers. This can typically be done through your domain registrar or hosting control panel. Consult your hosting provider’s documentation or support team for specific instructions on how to update the DNS settings.
- Use a plugin or custom code to redirect traffic from your old domain to the new one: Once you have updated the DNS settings for your domain, you will need to redirect traffic from your old domain to the new one. This can be done using a plugin such as Redirection or by adding custom code to your .htaccess file. This will ensure that any visitors to your old domain will be automatically redirected to the new one.
By redirecting your domain and updating the DNS settings, you can ensure that traffic to your site is directed to the new hosting provider. This is an important step in the migration process to ensure that your site remains accessible to your visitors.
Testing and Finishing Up

After you have completed the migration process and redirected your domain, it is important to test your new site to ensure that everything was migrated correctly and is working as expected. Here are some key steps to take:
- Test all the links and functionality on your new site: Go through your new site and click on all the links, check the navigation, and test any forms or other interactive elements. Make sure that everything is working as it should and that all the content is displaying correctly.
- Update any hard-coded links or references to the old domain name: If you have any hard-coded links or references to the old domain name in your site’s files or database, you will need to update them to the new domain name. This can typically be done using a search and replace tool or by manually editing the files.
- Delete the old site (optional): If you no longer need the old site, you can delete it from the old hosting provider. Just make sure to double-check that you have backed up all the necessary files and that you are no longer using the old domain name.
By testing and finishing up the migration process, you can ensure that your new site is running smoothly and is fully functional.
Conclusion
In this blog post, we have outlined the steps involved in migrating a WordPress site to a new hosting provider. These steps include preparing for the migration, exporting your WordPress site, importing it to the new host, redirecting your domain and updating DNS settings, and testing and finishing up the migration process.
Migrating a WordPress site can be a complex process, but with careful planning and attention to detail, it is possible to successfully transition to a new hosting provider. Be sure to follow all the steps outlined in this post and take the time to test and verify that everything is working as it should.
If you have any doubts or run into any issues during the migration process, don’t hesitate to seek help from your hosting provider or a professional WordPress developer. A smooth and successful migration will ensure that your website remains up and running without disruption to your visitors.


